Pages

Wednesday, December 28, 2016

Review: Installing eero WiFi system with TrueMesh

REVIEW: eero WiFi system with TrueMesh

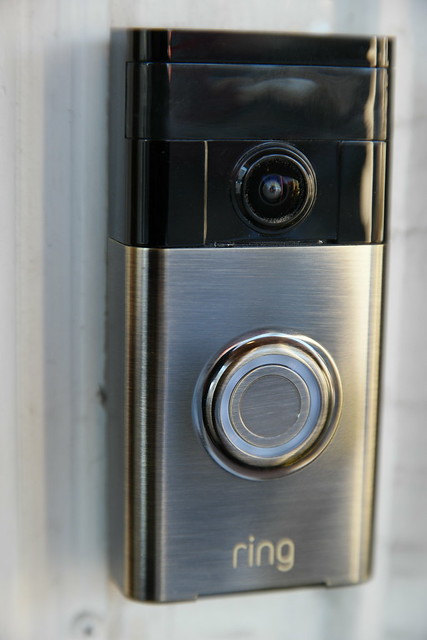
What started me on my quest to extend my WiFi network in our 100 year old home, was the installation of a ring.com WiFi connected video doorbell. In order for the doorbell to perform correctly, it needs a strong WiFi signal. The problem I have in this old house, is that my Comcast Xfinity modem/router is on the third floor, and my doorbell is on the first floor. Connectivity down there was non-existent until I installed a Netgear WiFi Range Extender.

That helped, but the doorbell software kept reporting ill health. I wanted to review the Netgear Orbi WiFi solution, but that isn't available for review right now, so when eero contacted me about reviewing their solution, I agreed.

Better Coverage Than Before
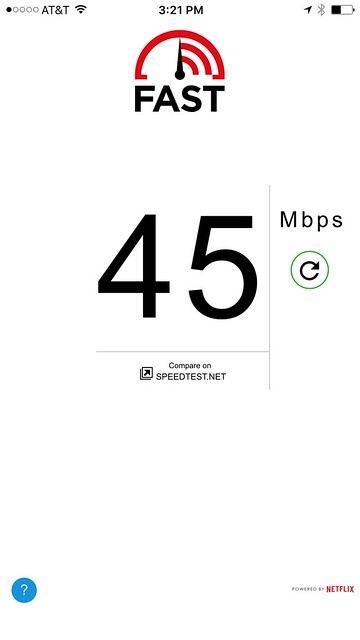
After completing the install of the three eero units, I now have better coverage than before, with WiFi at my front door, going from non existent, to 840 kbps with the Netgear extender, to 45 Mbps with the eero. It's a success. Also, all my existing WiFi connected devices still work after the installation. I was concerned that I'd run into problems, but the only hiccup was that I now have a WiFi connected laptop and printer instead of hardwired connections. That's probably the result of an old 10/100 switch I am using.

Regarding Speed
From the eero website:
Unlike traditional routers, which optimize for the speed you get when standing right next to them, the main goal of eero is whole-home coverage. Sure, speed is important, but only up to a point. Streaming the highest quality 4K HD video only requires a 25 Mbps connection, and Netflix HD only requires 5 Mbps.

Bottom line: getting super high speeds directly next to your router isn’t as important as consistent coverage throughout your home.

Here's my experience installing and testing the eero WiFi system.

Unboxing

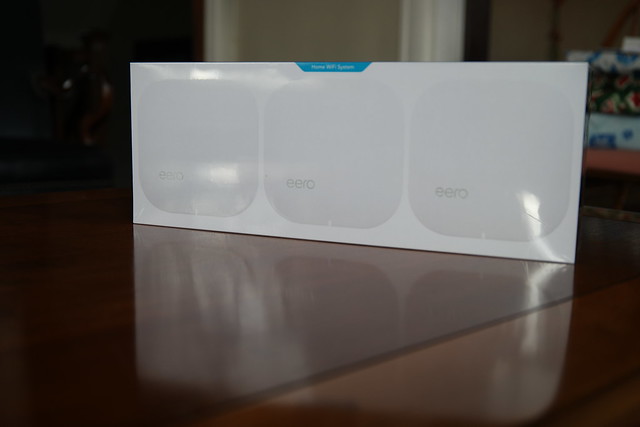
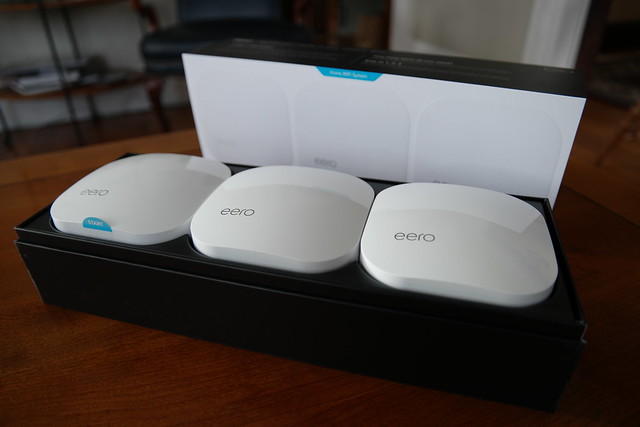
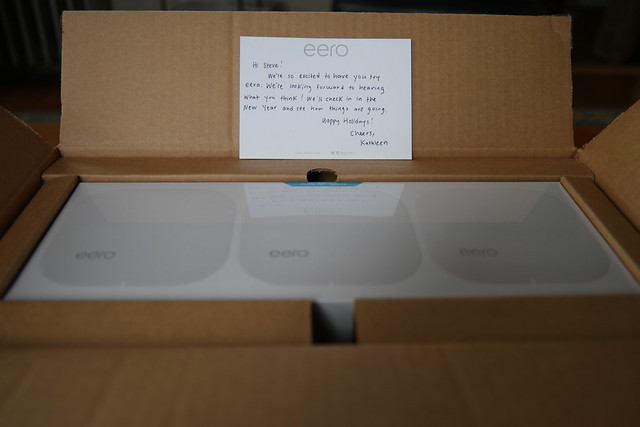
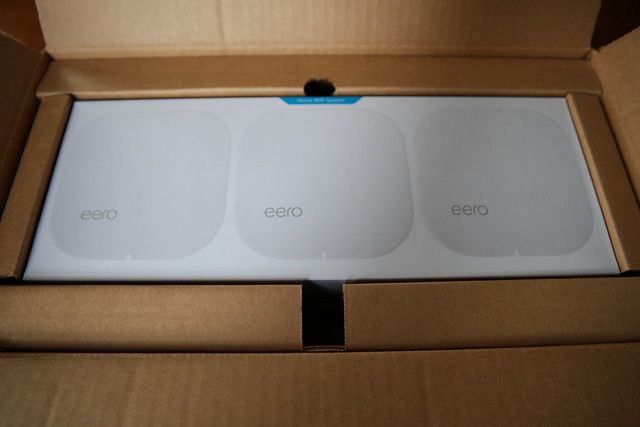
I received an eero Home WiFi System 3-pack, LIST PRICE $ 499.00, for review. It's well packaged, following the Apple model of impressive design.
eero install

eero install

eero install

eero install


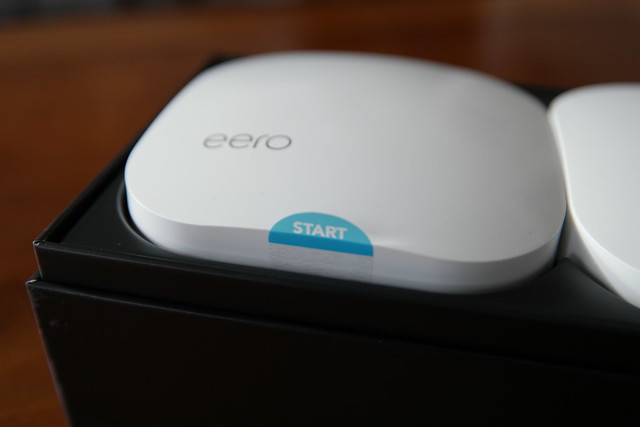
It's very welcoming, indicating where to start with a START sticker. Makes sense.
eero install

Buy on Amazon.com eero Home WiFi System (Pack of 3) - Blanket Your Home in WiFi, Replaces Wireless Router and Range Extender, Gigabit Speed, WPA2 Encryption [ Affiliate Link]


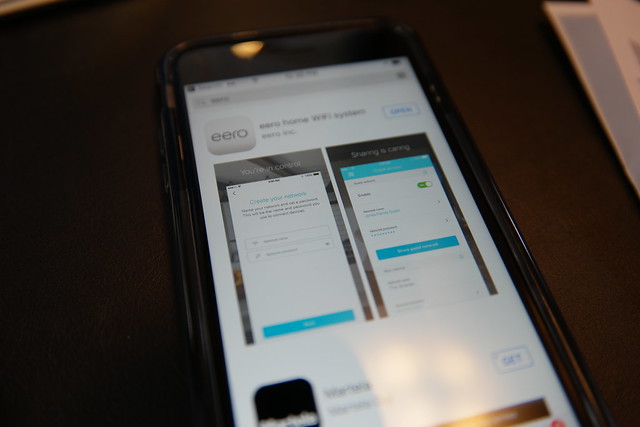
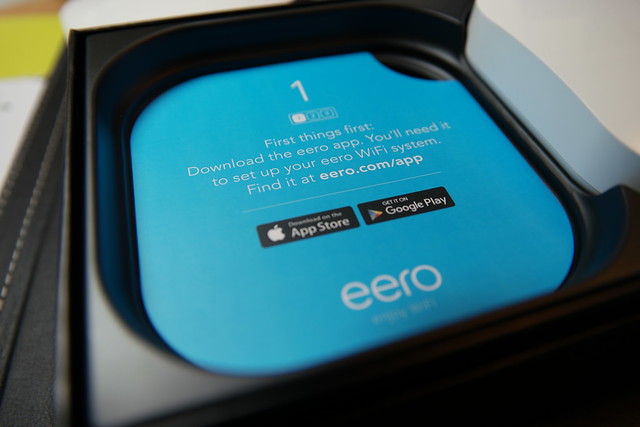
Download the App
eero install

eero install

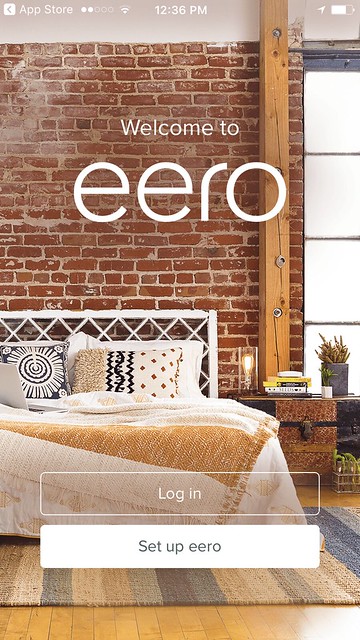
Welcome to eero

eero
Image: Welcome to eero App splash page

The app is very straightforward and guides you through the set up. I have a Comcast Xfinity modem/router and the instructions asked me to enable bridge mode. That was easy. Then the app started reporting an error, "Trouble connecting to the Internet." I knew that I had an internet connection because my laptop was hardwired to the modem and I was still able to browse with Safari. So I called the help number for eero, and someone answered right away. They were knowledgeable about my situation and suggested disabling bridge mode, creating the eero nnetwork, and then when set up was complete, enable bridge mode again.

That worked.

When I came time to naming my network, I chose the existing name of my fastest network, Skynet-5. All the other network names would be removed after enabling bridge mode since that shuts off the WiFi routing from the Comcast Xfinity modem.
I also unplugged my Netgear extender, so goodbye to Skynet-2.4. Skynet-5_EXT and Skynet-2.4_EXT. Switching networks was a pain and I'm glad that I now just have to use the one network at home.

Post Install - eero Update
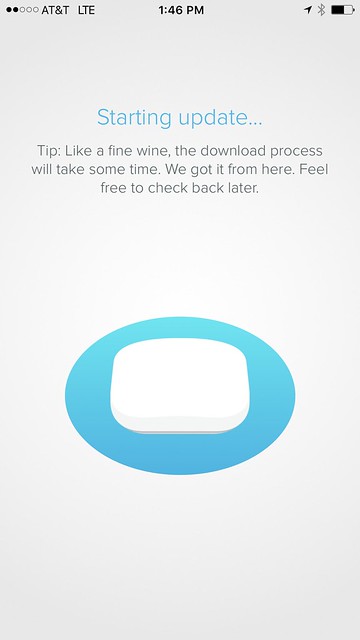
eero

Success - Your Network Is Up and Running
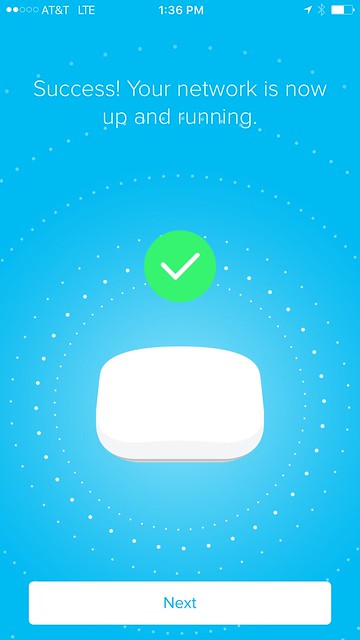
eero

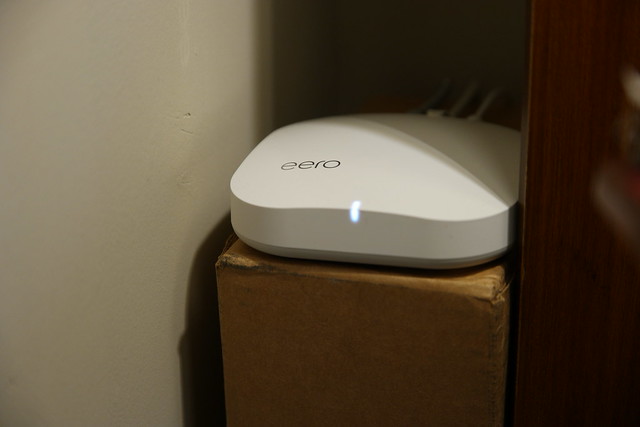
Here's a physical tour of an eero.

Now let's take a look at each of my installed eeros.

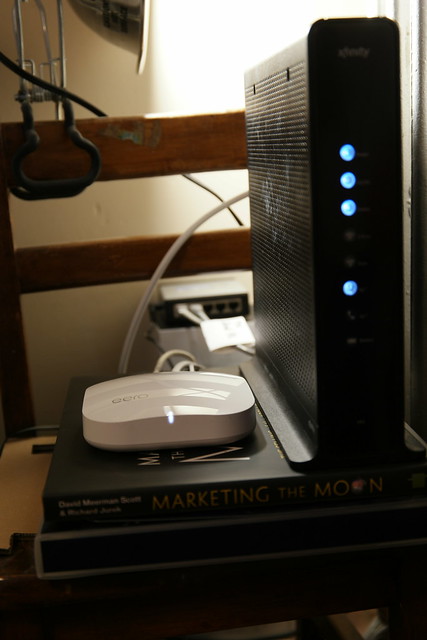
eero ONE
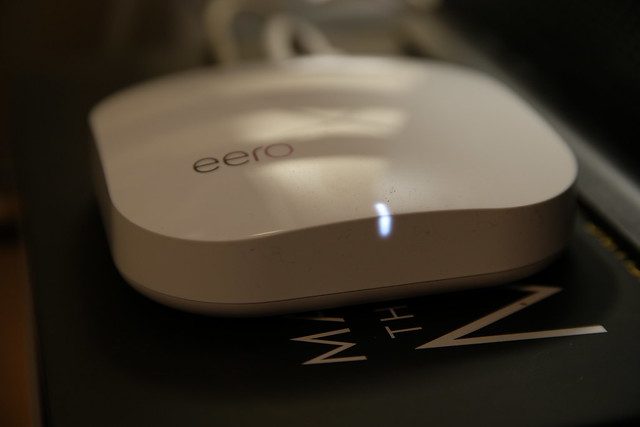
eero 1, 2, and 3

eero 1, 2, and 3

CONNECTION: COMCAST XFINITY MODEM -> eero ONE -> 5-port switch
CONNECTION: 5-port switch -> CAT 5 to eero TWO

eero TWO

eero 1, 2, and 3

eero 1, 2, and 3

CONNECTION: eero TWO -> TiVo

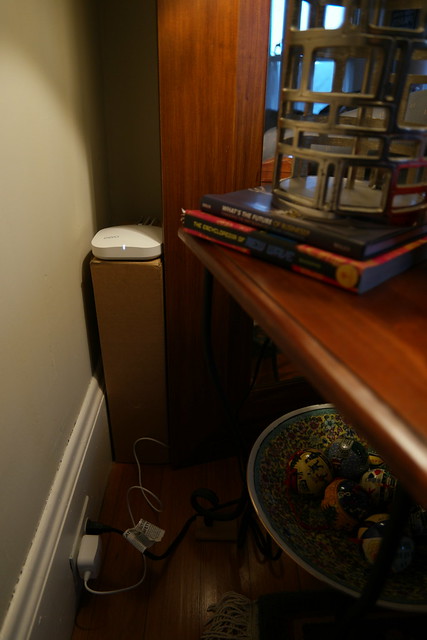
eero THREE
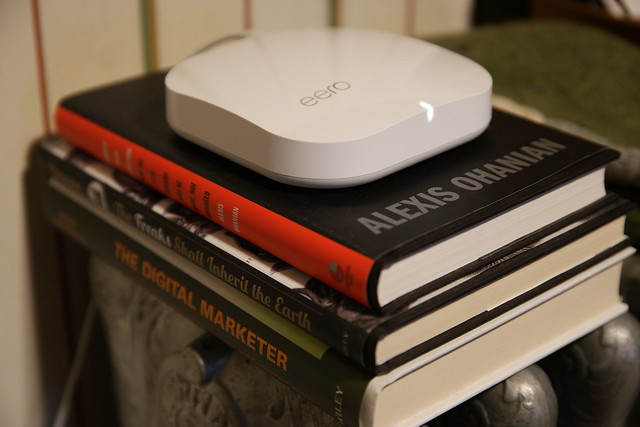
eero 1, 2, and 3

CONNECTION: NONE

SPEEDS

OFFICE
BEFORE 180 Mbps, 130 Mbps
AFTER 230 Mbps, 190 Mbps, 170 Mbps

KITCHEN
BEFORE 130 Mbps, 84 Mbps
AFTER 180 Mbps, 31 Mbps, 19 Mbps


FRONT DOOR
BEFORE NO SERVICE
BEFORE/Extender 840 kbps
AFTER 45 Mbps


Dead Zone is No Longer Dead
eero install

eero
Image: Fast.com Speed Test at Front Door

Prior to installing the eero, I was extending my WiFi network with a Netgear Extender. My Ring.com doorbell kept reporting a weak signal.

Now, after installing three eero units, one upstairs on the third floor near the modem, and two on the second floor, the signal at the front door is 45 Mbps. Prior to the eero install, the front door could not get any WiFi service from the 3rd floor Comcast Xfinity Modem/Router, and only received a weak 840 kbps WiFi signal after installing the Netgear Extender.

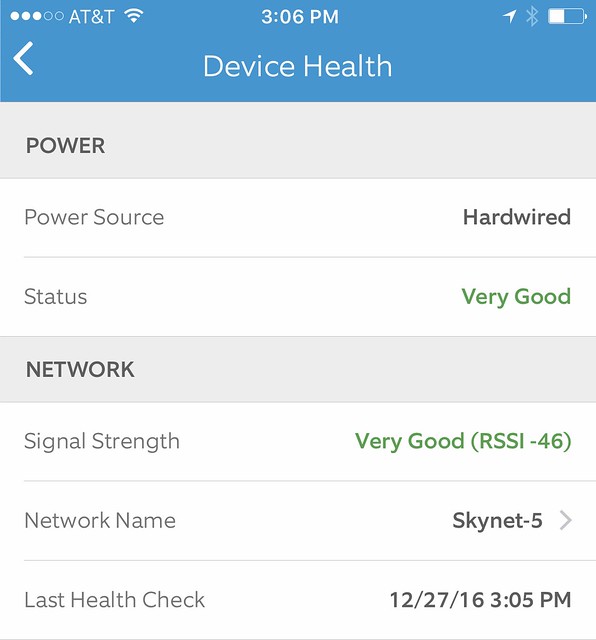
Now with 45 Mbps, the Ring.com door bell reports Very Good signal strength health.
eero
Image: Ring.com Device Health report

Here's how to change the WiFi network on an installed Ring Video Doorbell.


More information

eero community
eero blog
eero on Facebook
eero on twitter
eero on Inatagram


Alternatives

Google WiFi System.


Netgear Orbi.


Disclosure: I received eero WiFi system with TrueMesh for free in return for my honest opinion. This review reflects my honest opinions, findings, beliefs and experience.

UPDATE:

I gave this eero system to my cousin who was experiencing weak signals in parts of his house.

Here's his report.

"Had some weaker areas that weren't totally dead but they're regular speed now."

Speed test:

Thursday, November 24, 2016

2017 Mercedes-Benz E300 with Apple CarPlay

My Mercedes-Benz Dealership, Mercedes-Benz of Burlington, gives out loaner cars when you get your car serviced. I asked for an E300, while my C300 was in for it's B service.

I got a 2017 Mercedes-Benz E300. What a sweet car.


It's a little bigger than my C300 and does away with the semi-floating 8.4-inch screen, replacing it with an inline 12.3-inch high-resolution central display.

Display


The 2017 E300 also has a USB plug in the cupholder section.


After I plugged my iPhone 7 Plus in, the car detected it and asked me if I wanted to connect to Apple CarPlay.

"A new Apple CarPlay device has been connected."


I accepted "Automatically" and the CarPlay display came up. It's impressive.  The colors are vibrant and details are very pronounced.


I saw Pandora on there, so I scrolled over to it using the COMAND system with touchpad controller.


It was easy to scroll around my artists.


I selected Paul McCartney & Wings.


Next, I selected Maps, and chose to browse local shopping, and my supermarket came right up, so I selected it, and navigation led me there.


The final thing I'd like to share is the 64-color LED ambient lighting. This was fun to play with and decide on a color.
A network of LEDs can create not just a soothing ambience in the cabin, but one you can alter to suit your mood, or even create one. An incredible 64 selectable colors and adjustable brightness let the driver control the atmosphere like never before. Edge-lighting glows from beneath the "waveform" dash trim and door armrests, and from behind the instrumentation screen panel. Even the footwells, door handles and rear overhead assist grips are bathed in a soft glow.


Disclosure: Mercedes-Benz of Burlington provided me with a 2017 Mercedes-Benz E300 as a service loaner. I have a financial interest in Mercedes-Benz of Burlington. I was not asked to write anything about the car and was not provided any other compensation of any kind. All opinions I express regarding the Mercedes-Benz E300 are my own.

Wednesday, November 16, 2016

PhotoScan from Google Can't Beat a Scanner

PhotoScan iOS and Android App for scanning photos, makes it easy to use your smart phone to scan in old photos, but it can't match the quality of a flatbed scanner.

Here's a test I did with an old wedding photo:

PhotoScan


Epson Perfection V850 Pro scanner (affiliate link) with Color Restoration

Monday, November 14, 2016

The Shure Documenter MV88 iOS Digital Stereo Condenser Microphone

The Shure Documenter MV88 iOS Digital Stereo Condenser Microphone joins the landscape of new microphones that utilize the iPhone Lightning connector providing a greater confidence that recordings will sound good, as opposed to using the headphone jack.

In all my tests, the MV88 worked well, without any problems. As you add on external devices to help you record, you usually add in the possibility of technical failure. Not with the MV88. I was confident to use it each time.


The sound quality was very good and I appreciated the ability to modify the direction of the audio capture depending on the environment. The app was easy to use.

Here are the features of the mic, some video examples recorded directly to the camera and through Facebook Live, some of my suggestions for the next version, and some photos.

Features
• MFi certi ed compatible with all iOS devices equipped with a Lightning connector
• Matched cardioid and bi-directional 1 cm cartridges for best-in-class audio
• Mid-side architecture for a phase-perfect, clear stereo image
• 5 DSP preset modes (Speech, Singing, Flat, Acoustic Instrument, Loud)
• Automatically adjusts EQ, compression and limiting for optimal results
• Innovative hinge/rotation design supports multiple recording angles, including video applications
• All-metal construction engineered to withstand the most demanding recording conditions

System Requirements
iOS 7.0 and higher: iPhone 5, iPhone 5c, iPhone 5s, iPhone 6, iPhone 6 Plus; iPod touch 5th generation; iPad 4th generation, iPad Air, iPad Air 2; iPad Mini 1st generation, iPad Mini 2nd generation, iPad Mini 3rd Generation

ShurePlus™ MOTIV™ App Featuring:
–24-bit/48 khz .wav (uncompressed) recording
–Control over DSP mode selection, microphone gain, stereo width, raw mid-side adjustments, wind reduction, capsule selection, Left-Right Swap, 5-band EQ and compression/limiting

Buy on Amazon.com (Affiliate Link):


Testing:
iPhone 7 Plus Recording


iPhone 7 Plus Facebook Live Stream of Christmas Car Tree Review

ASSEMBLE


INSTALL ON CAR ROOF


A few notes that I would pass on to developers:

1. I would like the mic to be able to be adjustable 180 degrees. So it can both be pointed at an interviewee or the person recording.

2. OR All the microphone to twist so that the side pics work while in landscape mode, allowing both mics to work at the same time for interviewer and interviewee.

3. I’d like the mic to have a daisy chained lighting port on it so that I can plug in another lightning cord to power the phone while using the mic.

4. I’d like a longer lightning connector so that I can use the mic while keeping a case on my iPhone

Photos: